Dodecs for Pastry Chefs
By Peter Patrick
In this article, Peter Patrick provides the readers a better way to build dodecs.
We’ve published several features in recent years regarding the dodecahedron loudspeaker. Dodecs are useful for a number of different acoustic measurements. Excellent models are available commercially, but occasionally an individual will wish to “roll their own.”
Peter Patrick of Scientific Acoustics is a capable Australian consultant with a gift for innovation. He looked at my “compound miter-cut” dodec and said, “That’s too much work!” After some thought and experimentation, Peter offers our readers a better way to do-your-own dodec. pb
If you’ve checked out the price of the B&K unit, noted the compound mitre joints in “Do It Yourself” instructions and decided neither is attractive , this process could be for you.
The “Stitch ‘N Glue” process is well known to plywood boat builders. If it works for boats (mine is an 18 ft. trailer sailer) it will work for a DODEC speaker box.
The outcome is definitely more certain to be successful from the outset than a compound mitre affair and it will definitely be stronger by several orders of magnitude. Strength and beauty are like any project … you get out fair measure of what you put in, but at least you don’t need deadly accuracy in the joints.
The ingredients are:
- Hardwood plywood 9 mm (3/8”) – 1 small sheet
- Epoxy resin – 1 Liter (at the most)
- 2” Fiber Glass tape – 1 roll
- Microsphere filler – 0.5 pound Soft copper wire (Mine was from an old transformer)
- Very low cost paint brushes for applying epoxy (they will be sacrificed)
Nine mm plywood can be obtained at most building supply stores. System West has a great display at www.sterndrives.com. I suggest 403 Microspheres, 105 Resin and 206 Hardener. The slow hardener gives time for the wet epoxy to be absorbed into the surface of the plywood and form a strong bond. Polyester resin is not recommended.
Most boat builder supply/hardware/ships chandler shops can offer the glass tape, the epoxy resin & micro-spheres in small quantities that won’t break your bank account.
So here we go:
1. Mark out a pattern pentagon from scrap plywood. Start by inscribing the circle for the speaker front mount hole with a compass. (In my case this was exactly 100 mm or 4”).
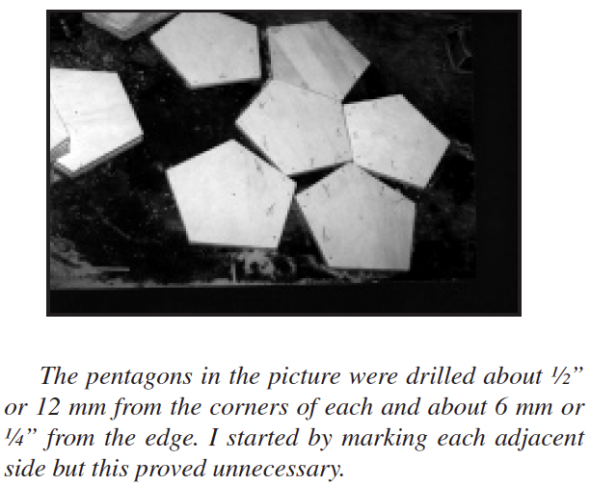
2. Using the same center scribe a larger circle within which to construct your pentagon. I used trial and error methods to subdivide the circumference into five equal portions and it didn’t take long. (I recall there was a method for this when I was in high school but that was 37 years ago). Make sure there is a nice solid patch of “land” around the speaker hole and cut the pentagon out from the scrap ply. Drill a pilot hole (1/8” or 3 mm) in the center of the pattern. Leave the speaker hole intact.
3. Use the pattern to mark out twelve pentagons. Cut the pentagons from the 9 mm sheet and use the pattern as an overlay to pilot drill the centers of all twelve sides.
Note: I used a metal cutting blade in my jig saw for this to ensure I had a nice clean edge. Don’t rush the cutting out and you will avoid ragged edges.
Once you have assembled twelve nice clean center-drilled pentagons you will note this is not necessarily a fast process.
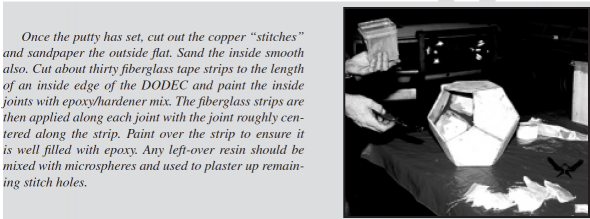
4. Drill two pilot holes (using the same drill as for the centers) along each edge of each pentagon in about the same location in all cases. “Stitch” the box together using the copper wire “twisties.” Then follow the putty, sandpaper and tape process to complete a smooth “soccer ball.”
5. Please note the manufacturer’s material safety data sheets and apply whatever precautions are recommended for the sake of your health. Some people might contract dermatitis from epoxy and breathing the vapors might not be good for one’s health.
Note: cut the fiberglass strips well before mixing the epoxy and hardener. Otherwise you risk getting epoxy on the tape and thence epoxy on the scissors. When epoxy hardens between blades they refuse to cut well.
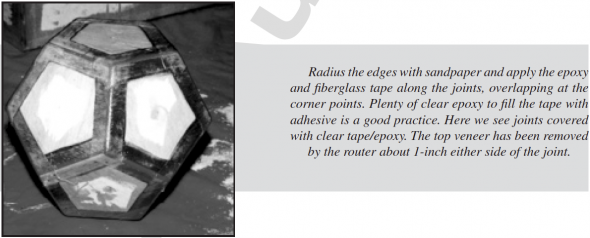
Note that rebating the outside edges is optional. I did this with a router set to about 1 mm depth for slightly more than 1-inch from the edge of each pentagon. When taping and glueing the outside edges it is useful to hand the DODEC from an overhead beam to dry, thus avoiding having it epoxied to the surface it stands on.
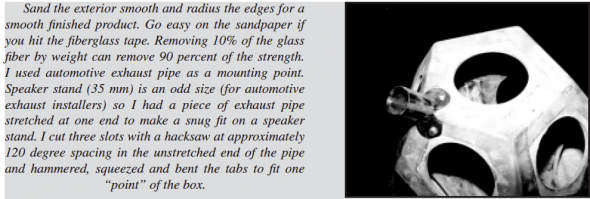
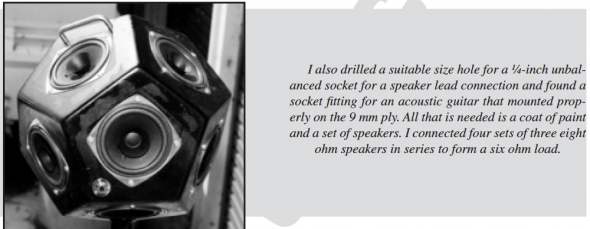
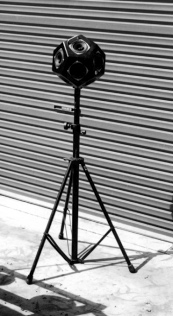
Here we are with a fine specimen, all dressed up and ready for dancin’.
“Bleep Bleep ….Probe to starship, probe to starship …… occasional motion detected suggesting remote possibility of life but …. not as we know it ……”
Please note this DODEC is air-tight and who knows how much (but lots) stronger than a compound mitre construction. The time taken can exceed that for the compound mitre approach but the chances of a successful outcome are much higher from the outset. In fact a pastry chef might make a better job of it given the greater familiarity with spreading wet “putty” in the form of cake icing. Have fun! P.J.P.

